Add inspection equipment
Click Add (1) to create a new inspection device in Memida. The add form opens.
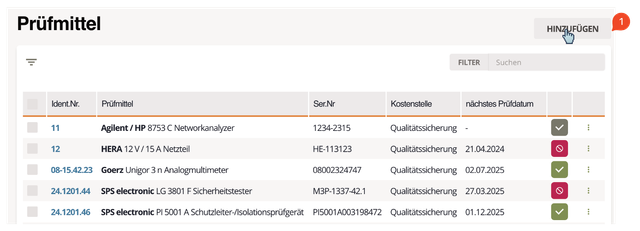
Fig. 1: Add inspection equipment
The page is split into two columns. On the left you enter device-specific details:
- Identification number (ID no.)
- Serial number
- Cost center
- Delivery date
- Additional fields
Many devices already exist in Memida’s catalog, saving you from entering manufacturer data manually. In most cases you only need to pick the device via the search on the right.
Select a device
Use the search field on the right to select an existing device or create a new one. Tip: start with the manufacturer, then the category, then the model name. If the device is found, select it from the results.
If your device does not appear, check the spelling. When the spelling is correct but no match is found, the device is not yet in the catalog. Click the plus icon in the top-right corner to add it—this opens the device master data dialog.
Add new device master data
If the device is not yet stored in Memida, add its master data as follows:
Add a new device to Memida
Place the cursor in the Model field and enter the device name. Afterwards select the device type or create a new one.
Select or create a device category
If the category does not exist yet, type its name into the selection field. When no match is found, Memida offers Create “category name”.
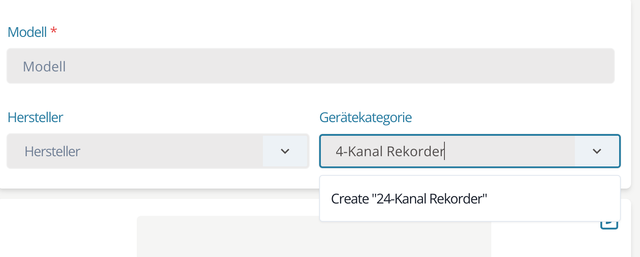
Fig. 2: Add a device category
Verify the name and click it to create the category and insert it into the field.
Add a new manufacturer
If the manufacturer is missing, enter the name into the selection field. Memida suggests Create “manufacturer name.”
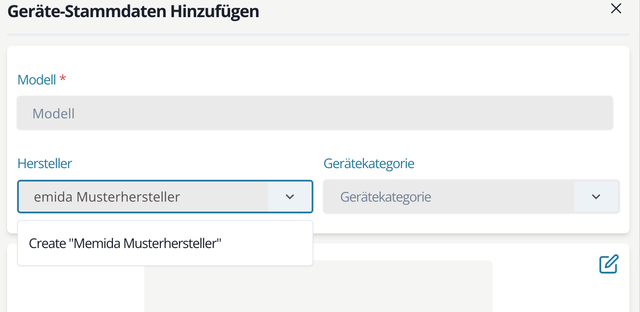
Fig. 3: Add a manufacturer
Confirm to create the manufacturer and insert it into the field.
Upload a device image
You can upload a photo in JPG, PNG, WEBP, or GIF format (max. 32 MB).
Administrators can edit device master data via the Master data menu.
Enter inspection equipment information
Provide the details that uniquely identify the device:
- Identification number (also known as inspection equipment number). It uniquely identifies the device and prevents mix-ups.
Tip: If you do not yet assign ID numbers, Memida can generate them automatically.
- Serial number
- Cost center
- Delivery date
- Additional fields
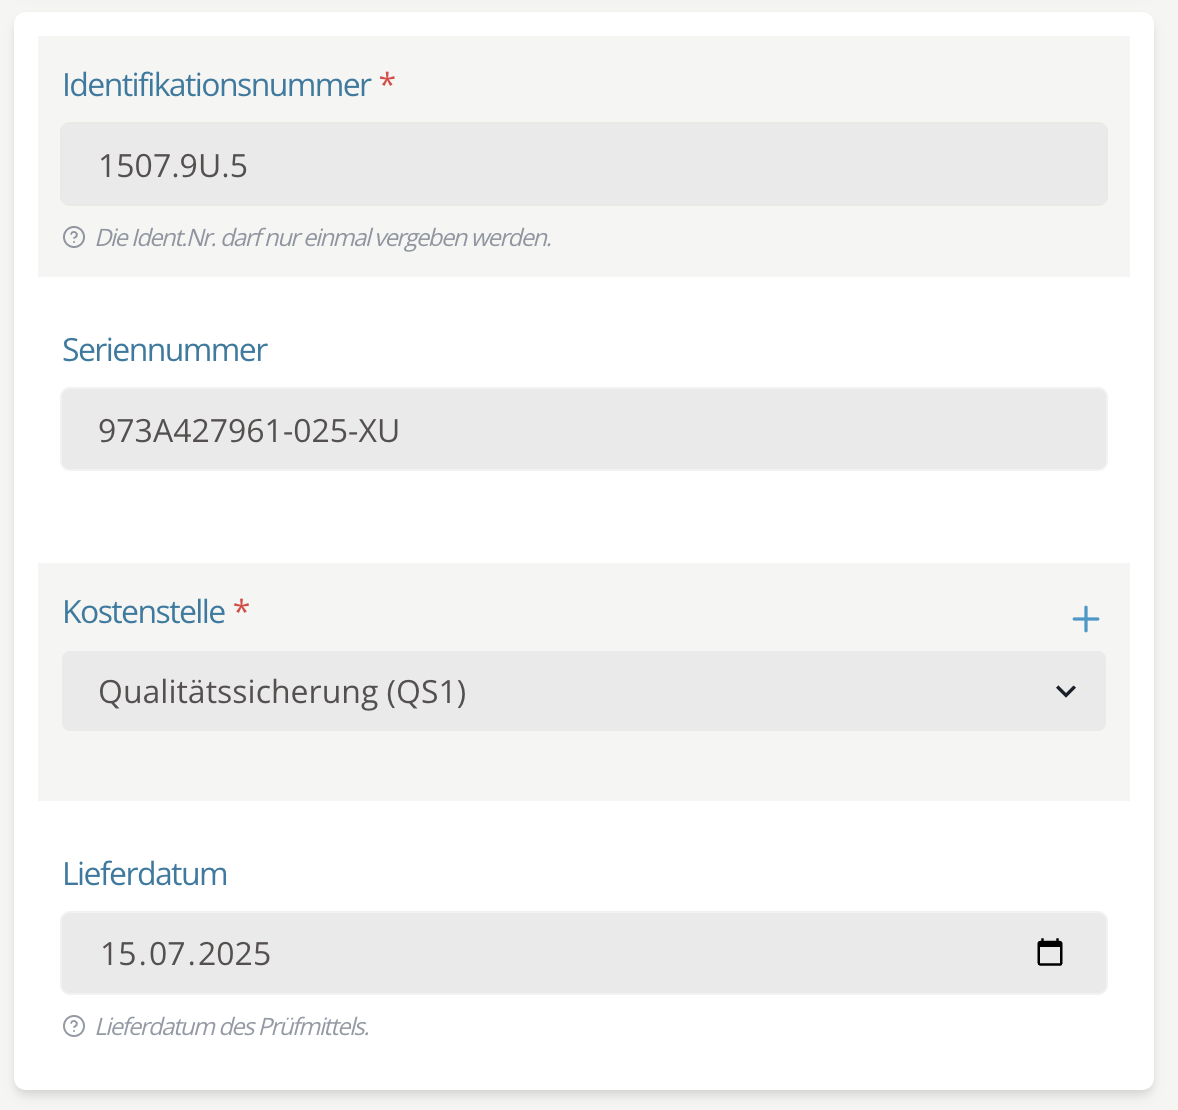
Fig. 4: Enter inspection equipment information
Calibration requirement, interval, and lab
If the device requires calibration, set Yes for “Calibration required,” define the calibration interval, and select the calibration lab.
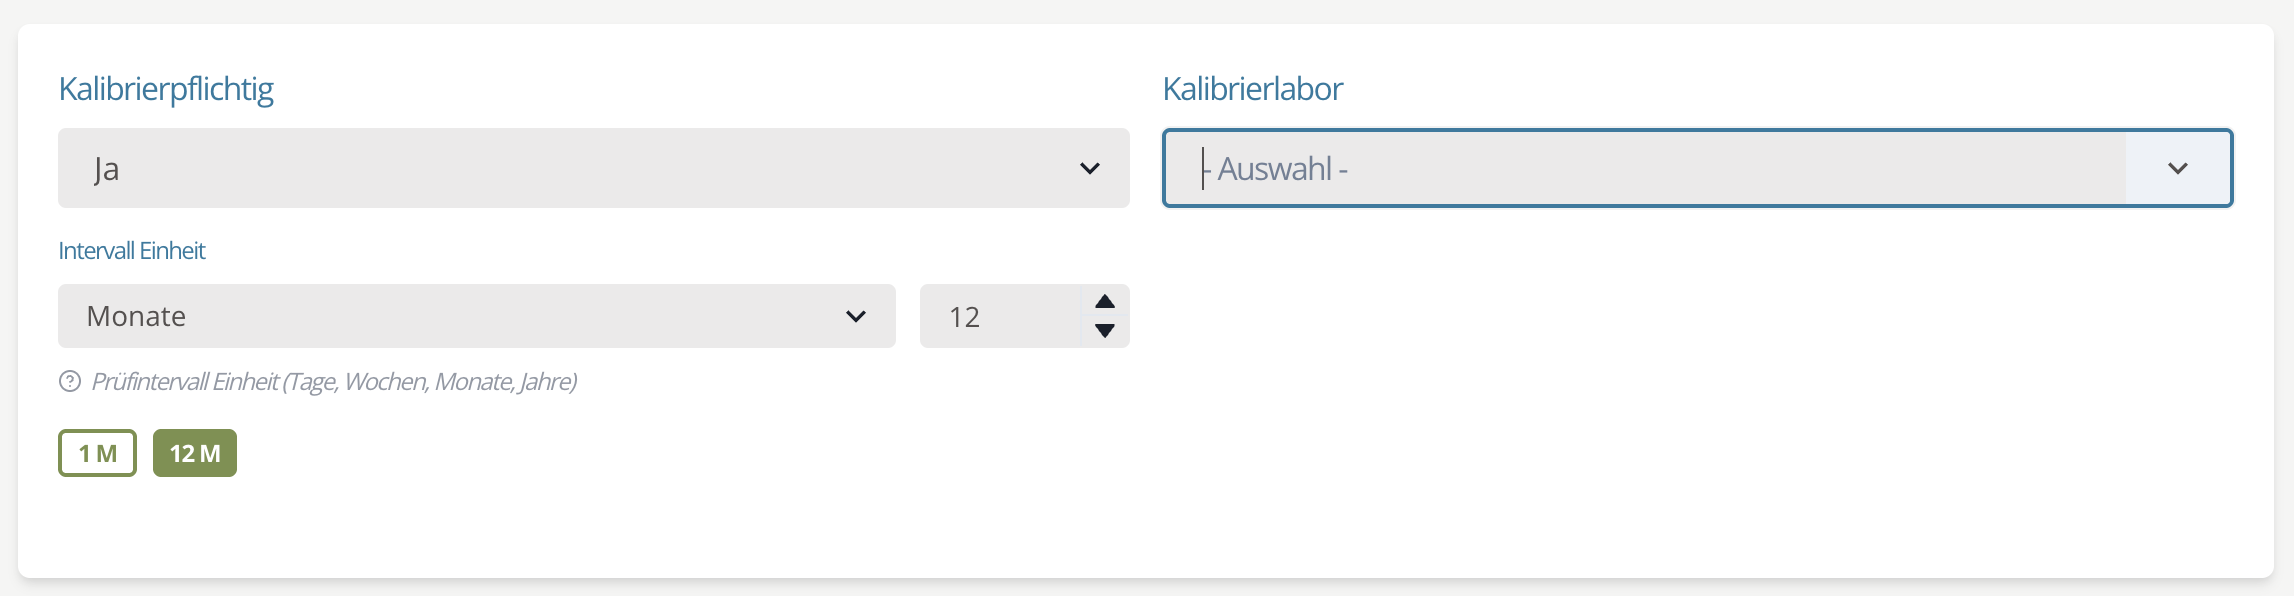 Fig. 5: Calibration details
Create a calibration lab
If the lab is missing from the list, type its name to create it.
Location
Assign a site and storage location on the interactive map. Click the plus icon next to Location.
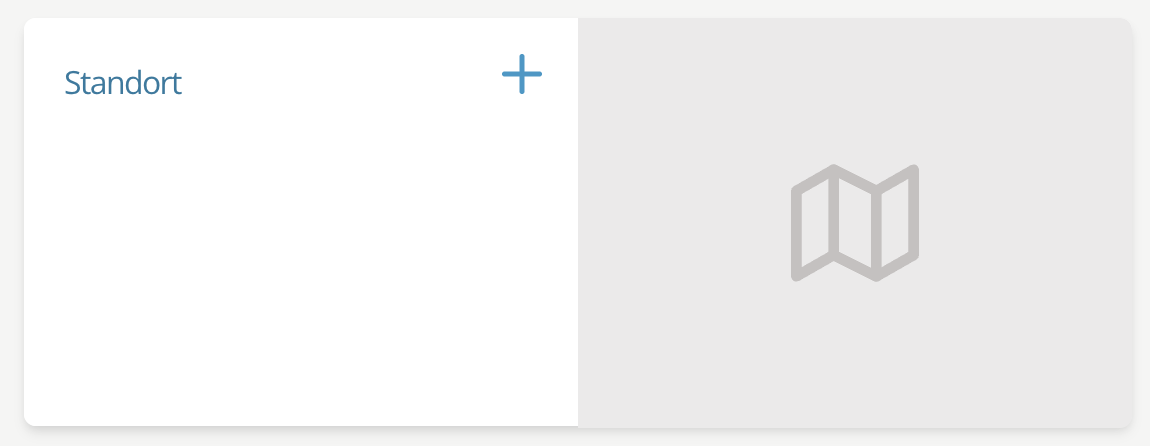
Fig. 6: Add a location
A dialog opens where you can pick an existing site (1) and storage location (2) or define new ones. Sites can represent buildings; storage locations capture the exact position inside. Use the actions (3) on the map to set markers, and add extra instructions in the free-text field (4).
Available actions (3) (left to right):
Site
- Mark building
- Freeform shapes
- Edit markers
- Delete markers
Storage location
- Set a specific point
Search
- Search for an address, e.g., Spittelmarkt 10, 10117 Berlin
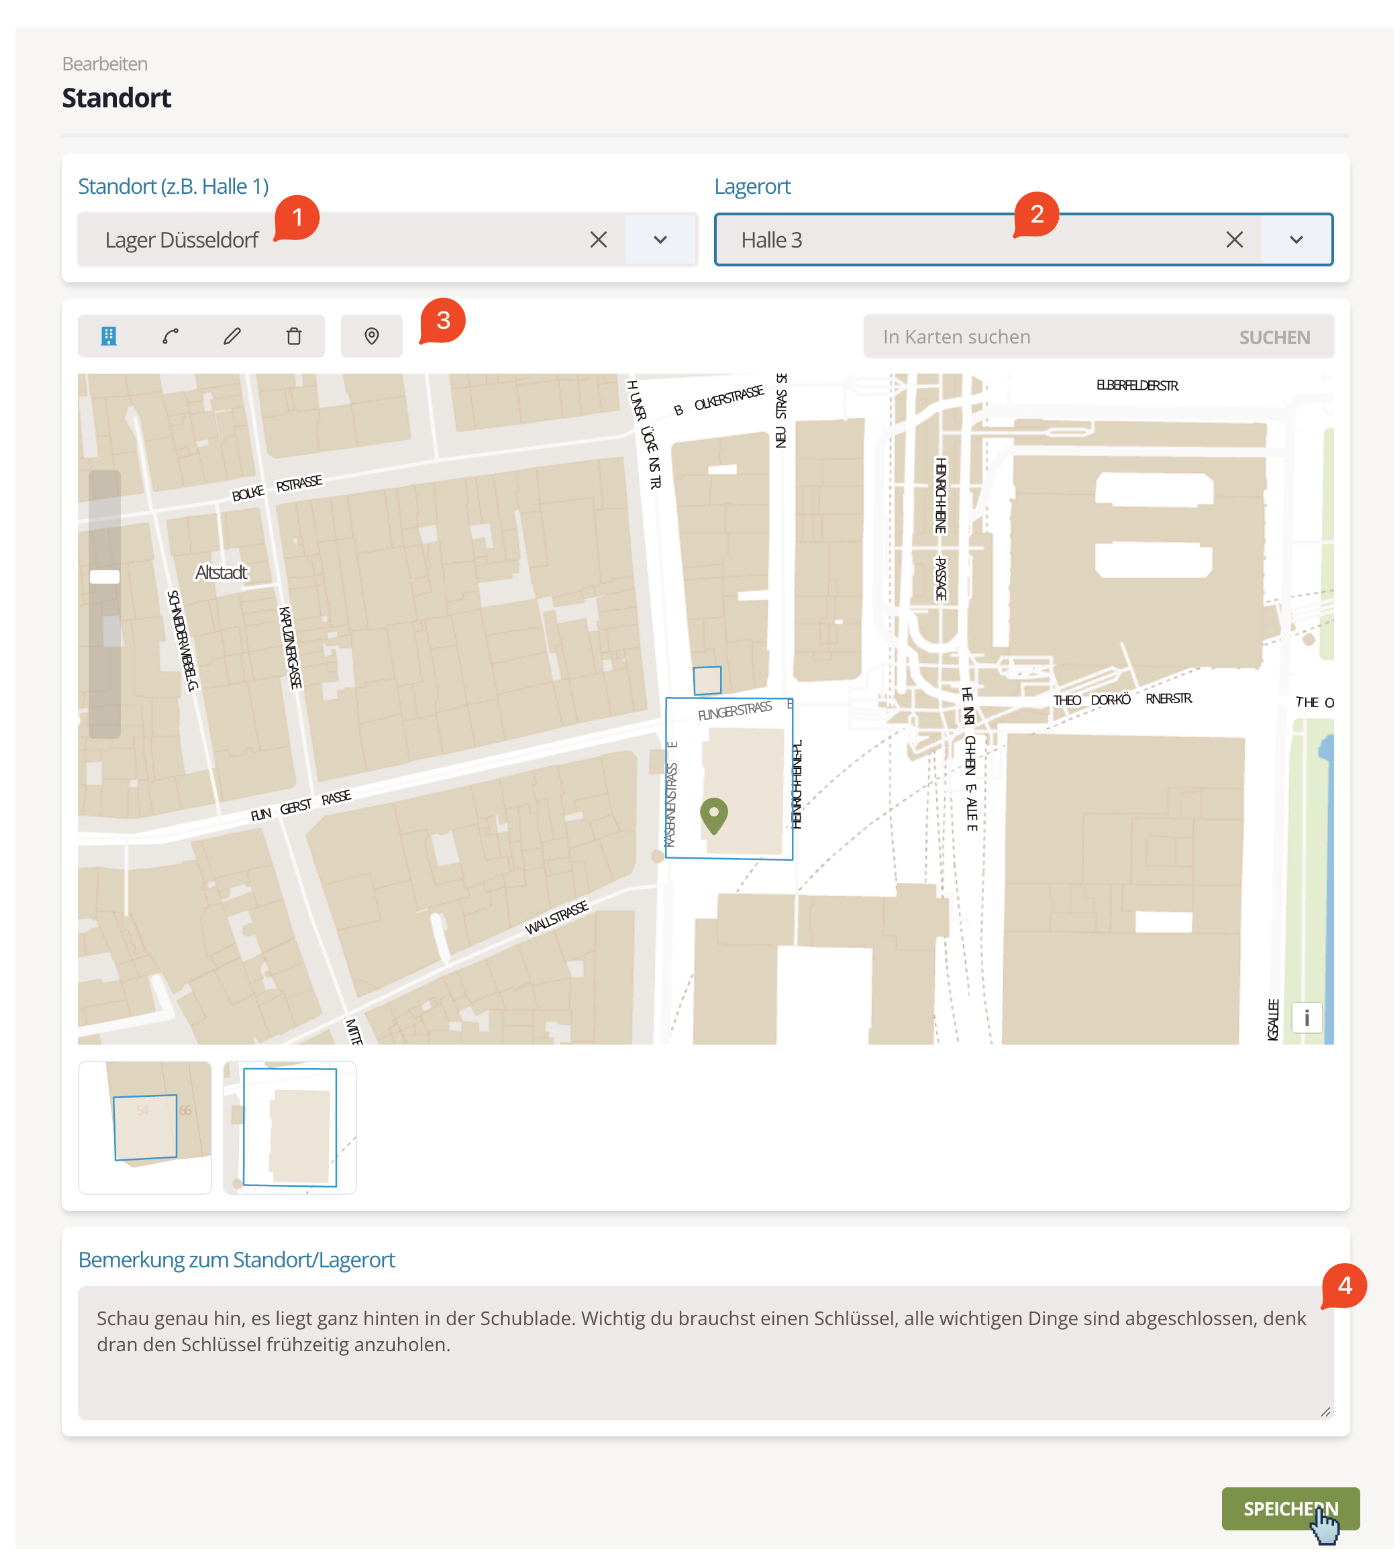
Fig. 7: Define the location
Click Save. The dialog closes and the new site/storage location is displayed:
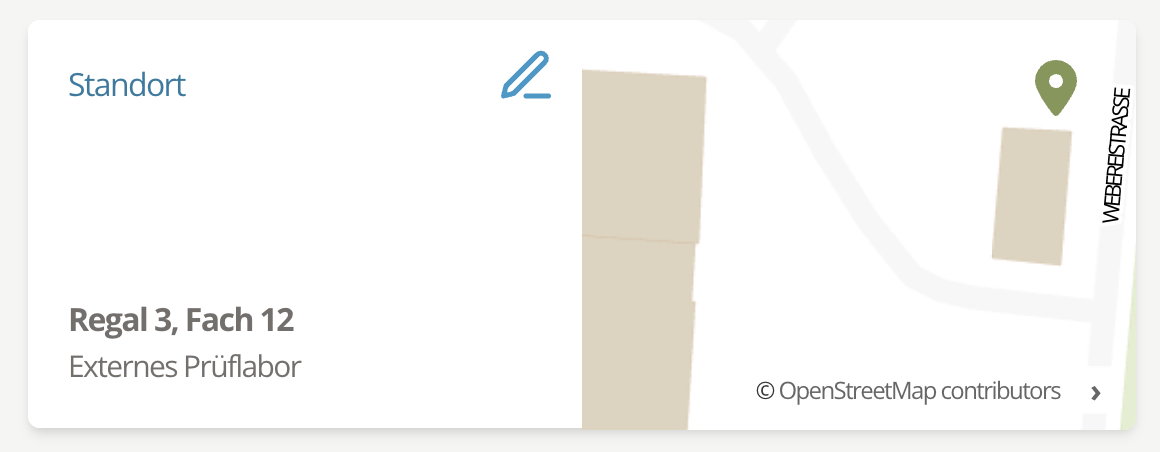
Fig. 8: Location shown
Administrators can adjust sites, storage locations, and calibration labs anytime via the Master data menu.
Add a description
Optionally add a description for the device.
Finish adding the device
Click Add in the bottom-right corner to create the inspection equipment.