Usage
Show or hide list columns
Memida lets you customize the lists you see. Choose which columns should be displayed. Custom fields that you create are available as columns as well.
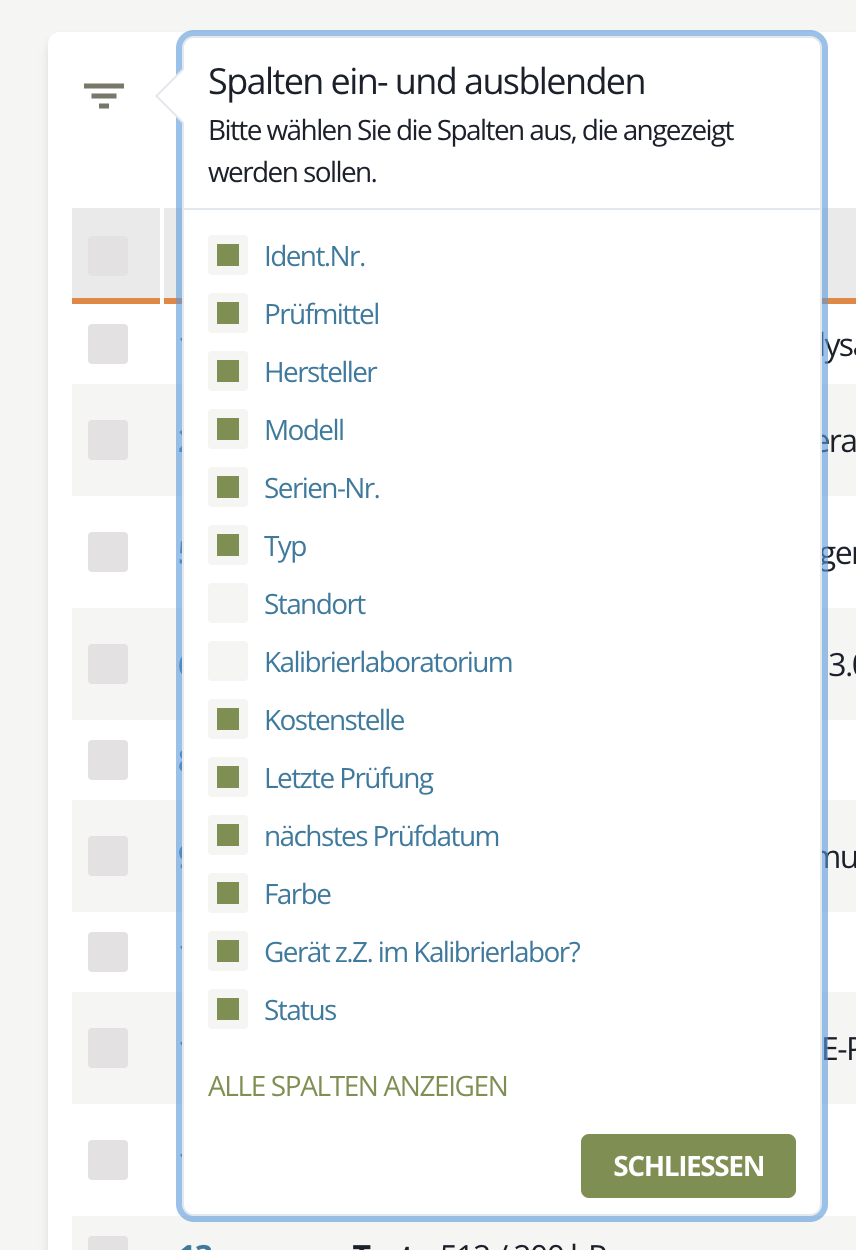
Fig. 1: Select the columns you want to display
Check the columns you want to show. Clear the check box for columns you want to hide.
Filter lists
Lists can be filtered quickly by search terms or predefined criteria. The filter field is located at the top right of each list and consists of the Filter button plus an input field.

Fig. 2: Filter field
By predefined criteria
Click Filter to open a list of predefined criteria. Select one or more criteria to filter the list accordingly.
Selected criteria appear below the filter field.
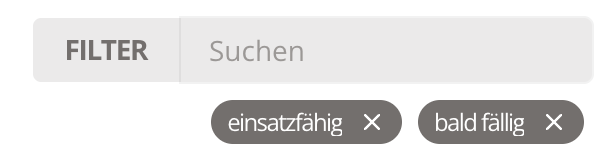
Fig. 3: Active filter criteria
If you select multiple criteria, they are combined with a logical OR. For example, if you filter by “ready for use” and “not ready for use,” the list shows devices matching either status.
Click the (x) to remove a criterion individually.
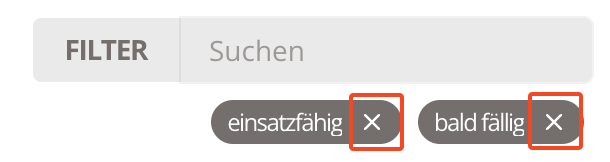
Fig. 4: Remove filter criteria
By search term
Enter a term into the filter field to limit the table to rows containing that term. This helps you reduce long lists to a few relevant rows.
Content from additional fields is included in the search.
Combine both filter methods
You can combine both methods. For example, select the “ready for use” criterion and enter a manufacturer name to show only ready-for-use devices from that manufacturer.
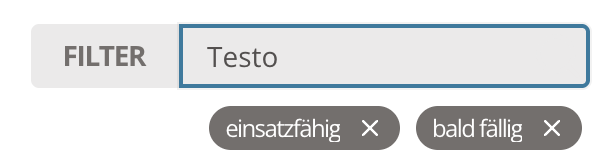
Fig. 5: Combining filter methods
Sort lists in ascending or descending order
Move the mouse over a column header to reveal small arrows for sortable columns. Click an arrow to sort ascending or descending. The active sort direction is highlighted.

Fig. 6: Sort arrows in the column header
Change the number of rows per page
By default, each list page shows 25 entries. To see more items on a page, change the number of entries per page via the selector in the bottom-right corner of the list.
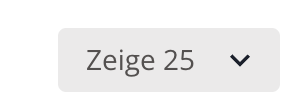
Fig. 7: Set entries per page
Export lists
You can export the inspection equipment list. Only rows that you mark for export are included, so select the rows you need.
Mark individual rows for export
In the leftmost column, click the checkbox to mark a row. Marked check boxes turn green. Click the check box again to remove the selection.

Fig. 8: Mark a single row
To select all rows on the current page, click the check box in the column header. Click it again to clear the selection.

Fig. 9: Mark the entire page
If your list spans multiple pages, repeat the selection on each page you want to include in the export.
Once at least one row is selected, the export controls appear in the top-right corner of the list.

Fig. 10: Export controls
Choose an export format
Decide whether to export the data as an Excel file or a PDF.
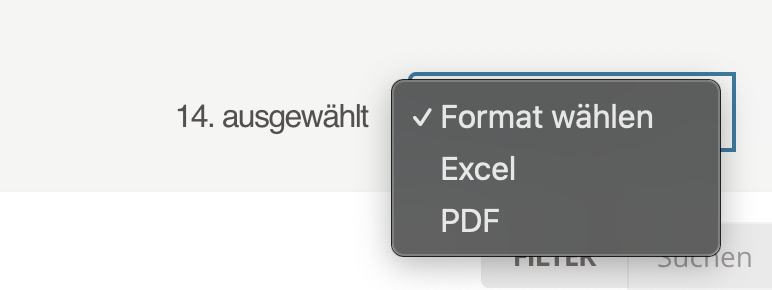
Fig. 11: Choose the export format
Start the export
After selecting a format, click Export to start the process.

Fig. 12: Start the export
Download the export
Click Download to start the transfer. Your browser saves the file in your configured download folder.
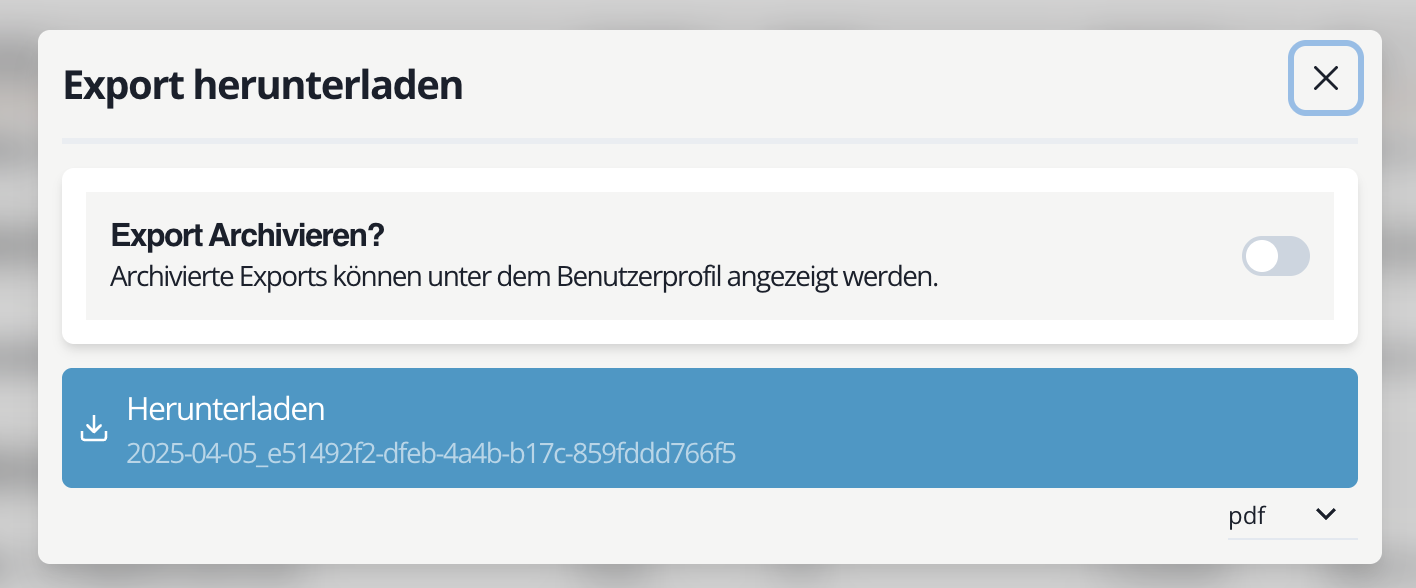
Fig. 13: Download the export
Where to find exported files
Exported files are available for three days under User profile > Files.
Archive exported files
You can choose to archive the file when you start the export.
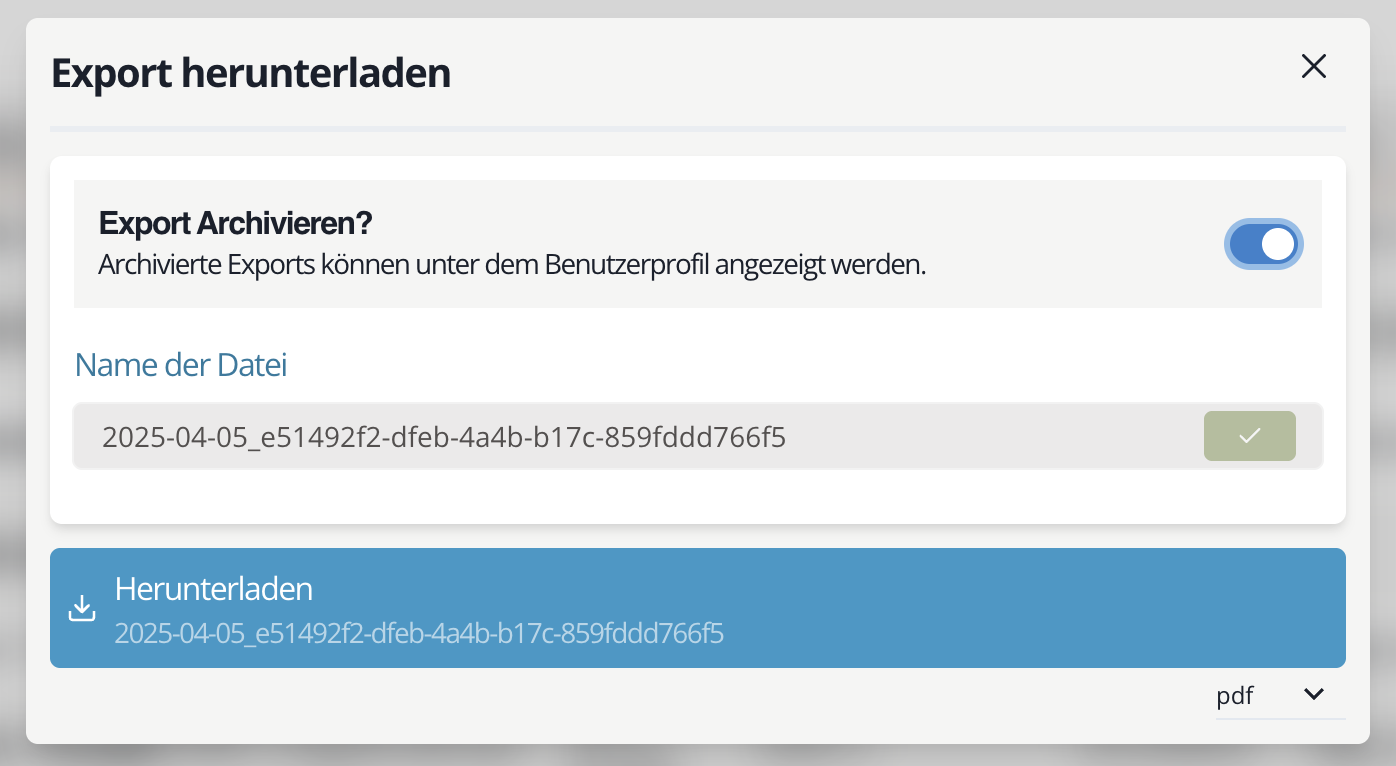
Fig. 14: Archive the export
Archived files are stored permanently in Memida and are not deleted automatically.
Toggles
Whenever something in Memida has exactly two states, it is usually controlled via a toggle. If the toggle is colored and on the right, the state is active/on. If it is gray and on the left, the state is inactive/off.
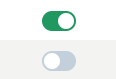
Fig. 15: Toggle, top active/on, bottom inactive/off
Every time you click the toggle, the state changes and is saved immediately—no extra confirmation button required.